Have you ever been like me and gotten hopelessly into a game that has extremely elaborate designs that you need references to draw? Does that game happen to be Xenoblade Chronicles (2010) for the Nintendo Wii? Have I got a guide for you! It's so simple even I figured out how to do it! Wow! There's probably a more extensive and less centralized tutorial for this stuff out there, but this is everything that I as a total layman have figured out all by myself.
- Get yourself a copy of the game's ISO. You can dump it from a physical disc you bought. Or find it some other way. I'm not the cops.
- Also get your hands on Dolphin Emulator. Put the ISO into Dolphin's folder on your system, and the game should appear in the menu when you open the program.
- Right click the game in the menu and select "Properties". From there, go to the "Filesystem" tab, right-click the disc, and select "Extract All Files". (It'll also work to select the chr folder from the Filesystem menu and Extract Directory, but you do need to extract all to access the obj and map folders.)
- Download the extracting tools provided by TCRF, along with QuickBMS, and follow the directions listed in the readme.txt included in XBSE_0.0.2.
- Enter chr > jp and run chr.pkb with pkb_extract_v2.bms. (This is the folder for character models; it's got enemies, NPCs, and all the player character weapon/armor models.)
- Do the same with obj.pkb in the obj > jp folder. (This is the folder for cutscene and world props. It's also got the titans and all of their variations.)
- Lastly, run it on map.pkb in the main directory's map folder. These files are slightly more difficult to access; you'll now want to run dap_map.bms and select all of the .dap files. (This is the folder for the map files. It includes all of the level geometry, save for objects that get culled offscreen. Those are in the .lod files and I'm still figuring out how to crack those.)
- And you have all the models!* While TCRF includes brresviewer with the toolkit, which is sufficient for viewing these models, it is very bad at rendering transparency effects correctly and it uses a ton of GPU; I recommend BrawlBox as a significantly better alternative, which allows you to do things like manually pose models and load custom textures. Unfortunately, BrawlBox doesn't do everything; you will still need brresviewer to view the animations, which are stored in the .kyp files.
- *(except for the .lod files. working on it)
- The models aren't labelled by default; if you want to know what they are, you've gotta open them and name them yourself. TCRF, again, has a useful directory of which models correspond to each file.
hey wait what was that about replacing textures
- yeah
- If you open either BrawlBox or brresviewer, you can view the individual textures from their main windows and export them by right-clicking them. Then you just have the png on your computer, which you're free to edit!
- Once you have your edited texture, you can right-click the texture in BrawlBox and select "replace", and then pick your file and preview the model to see how it looks.
- That's great and all! But how do you get it into the video game.
- This is where it gets complicated—Dolphin's texture directory uses completely different filenames from the internal ones attached to the models, so it won't work to just stick your funny little png into the folder as it is. You need to figure out what the program is looking for!
- To do this, you're gonna need to go look at the texture in-game.
- In Dolphin's main menu, go to Graphics Configuration settings and in the "Advanced" tab turn on "Dump Textures". This will automatically drop every texture into a folder on your computer as soon as the game loads them.
- For Xenoblade, this will be located in Dolphin Emulator > Dump > Textures > SX4E01 (or, if you have the Japanese or PAL version, SX4J01 or SX4P01 respectively; you can check what version you have by right-clicking the game in Dolphin and selecting Properties, and then Info, where the folder name you need will be listed under Game ID). Once you've viewed the texture in-game, you just have to dig through the folder and find the texture you want to replace.
- Rename your edited texture to be identical to the filename of its counterpart in this folder.
- Make another folder called SX4E01 (or its appropriate regional equivalent) in Dolphin Emulator > Load (if one doesn't already exist), and drop your edited texture in.
- In the "Advanced" Graphics Configuration settings, check "Load Custom Textures". (Also, uncheck "Dump Textures" if you haven't and don't need it anymore—it's a huge toll on performance.) If you've done everything correctly, everything should have worked! You have custom texture(s) now! Wow!
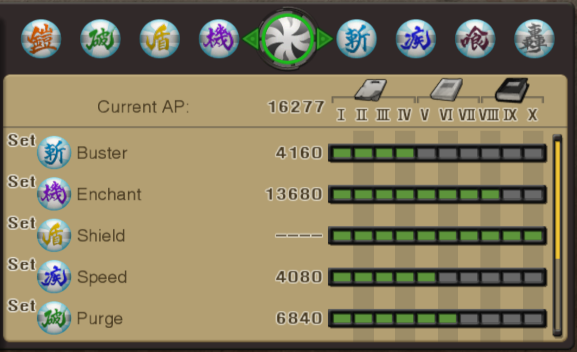
- As a demonstration, here's a set of textures I made myself to color-code the Monado Art icons. Each one is pre-named so that you can just save them straight to your Load folder!


